Laravel Forge is a DevOps solution provided by Taylor Otwell and the wider team to make server management a joy, rather than a terminal grind but then you knew that, that’s why you’re here!

We’re going to skip right ahead and make the assumption you’ve set up a new server and a new app within it and all is well with your WordPress ecosystem, the site is running and you’re using it. But now you’ve noticed that because you opted for a WordPress app rather than a Git / General PHP environment you no longer have the deployment options available to you as standard.
Well, don’t worry too much because understanding automatic deployment is simpler than you think. In the case of Laravel itself, it’s usually just a matter of pulling the master branch and updating composer dependencies in a simple bash script. But when it comes to WordPress, all you will generally need is your wp-content folder being pulled from a repository.
So set up your git repository locally and use the following .gitignore to ensure it’s only the wp-content directory being utilised.
Ensure that’s both on the server and on your local environment. You can check with git status whether or not only wp-content is being tracked (and the .gitignore file itself). Note that your plugins and uploads won’t be tracked either, this allows the WordPress to be an autonomous active environment without unnecessary clutter or merge issues.
Now, on your server, create a bash file, eg: touch deployment.sh and then edit that empty file; vi deployment.sh and once inside, write the following:#!/bin/sh
cd /home/forge/path.to.yours
git pull origin master
echo "" | sudo -S service php7.2-fpm reload
Great. Write that by pushing :w and then quit out with :q. Now that we have a script we can run, you can try it out. Run it with sh deployment.sh

All good? Good. Now we need to allow BitBucket to run this script whenever a push is made to the repository, but BitBucket can’t access bash scripts remotely, so we make a GET / POST call that can talk to the script. Luckily there’s something that does this quite easily and more securely than some hacked together PHP script.
Install webhook on your Ubuntu server: apt-get install webhook — easy as that if you have Ubuntu 17.04 or later, but if you’re like me and your Forge server was instantiated at 16.04 Xenial then you have to go to https://packages.debian.org/sid/webhook and pick your architecture, pick a mirror & copy its link. For example:
Go back to your shell and wget it:wget http://ftp.us.debian.org/debian/pool/main/w/webhook/webhook_2.5.0-2+b1_amd64.deb
(For newer tarballs: https://github.com/adnanh/webhook/releases)
See here for more details on installation, once unarchived
(eg. tar -xvzf tarball_example.tar.gz)
https://github.com/adnanh/webhook/issues/222
Once installed, you can now edit the .conf file to set in motion your “hooks” which will allow you to specify each and every criterion you would prefer to be in motion in regard to accessing your server. Here are some examples: https://github.com/adnanh/webhook/wiki/Hook-Examples and if you’d prefer an explanation of parameters, check this out: https://github.com/adnanh/webhook/wiki/Hook-Definition
Once you have your webhook set up, something like http://example.com:9000/hooks/deploy-dev you will be able to test it out by accessing it directly, you can then check through the help of sudo service webhook status for a verbatim log response, or if you read the docs you can even provide a response to the window itself. It would be my recommendation to lock your webhook to the inbound api IP address range(s) of BitBucket (or Github). IP whitelisting information at BitBucket: https://confluence.atlassian.com/bitbucket/manage-webhooks-735643732.html
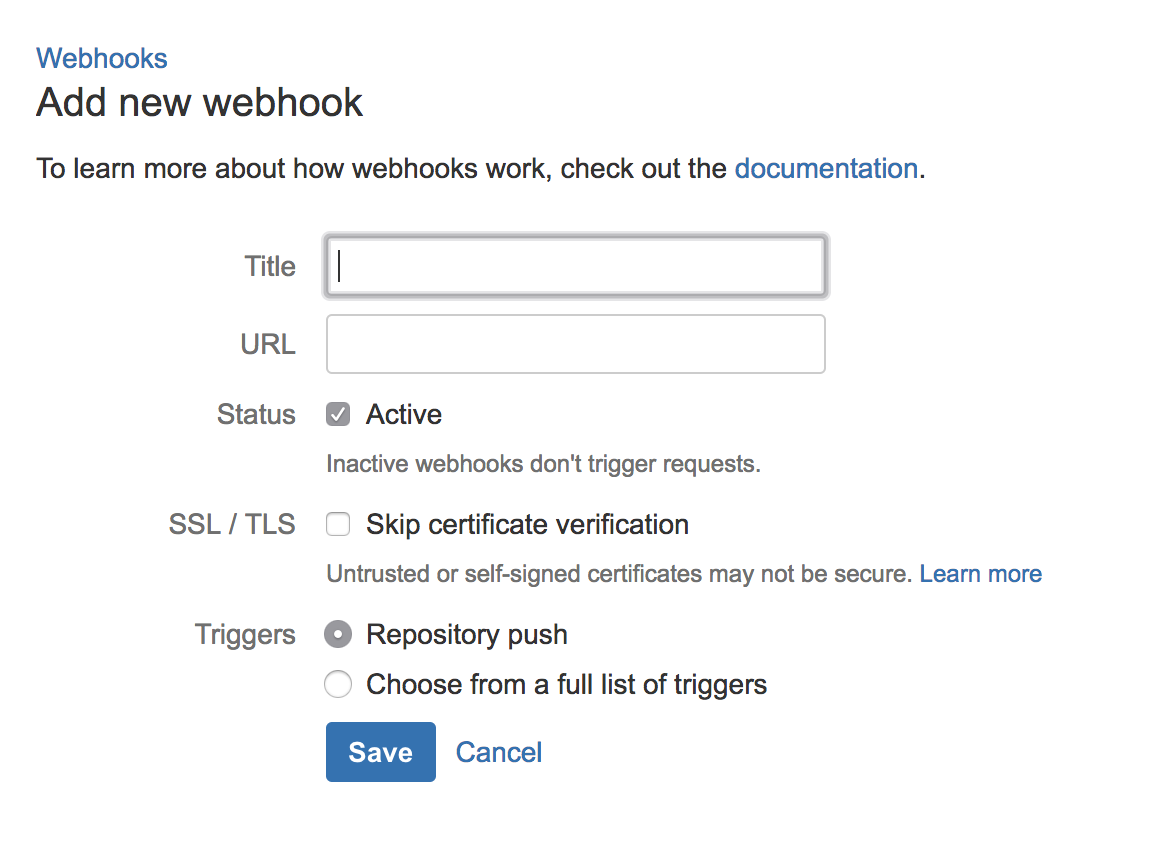
That’s all there is to it, now you add this webhook you generated into the settings of your repository and it’s ready to fire whenever you push.

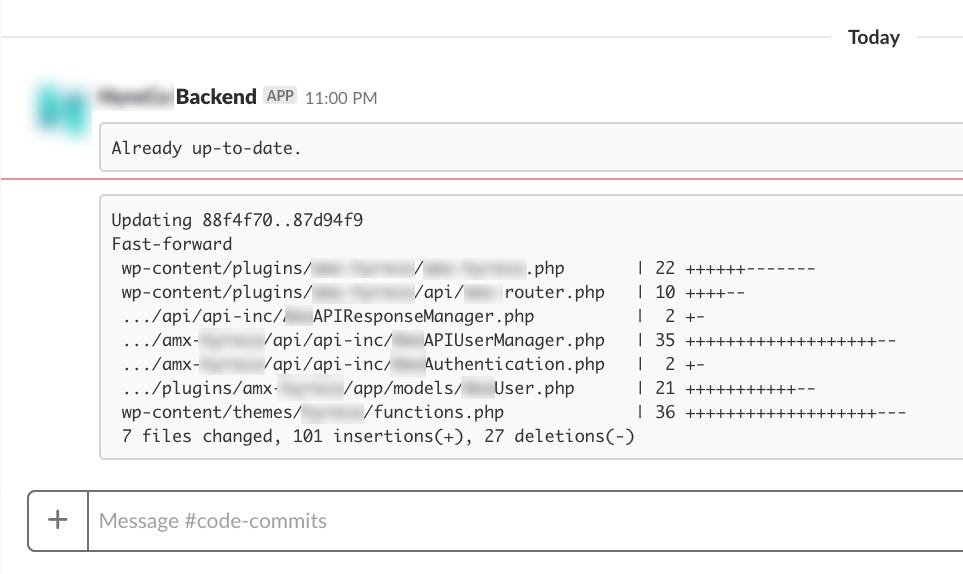
One last optional step, if you’re anything like me and you like to get an alert back when a deployment is successful, you can go ahead and check out a handy package like Slacktee: https://github.com/course-hero/slacktee.

With the help of Slacktee I was able to pipe on its execution at the end of my command in the deployment.sh file as such: git pull origin master | slacktee.sh and as a result the outcome of the “deployment” was reported back to Slack in real time.

Look at you staying ontop of deployments — you’re a bonafide DevOps specialist now. Hopefully this short article steered some people in the right direction for some things they were thinking about. Please let me know if this article helped you sort your server out or share your simpler methods in the comments and we can all get better together.


